
Adding a Logo to a QR Code
Center logos need higher error correction and larger print sizes to stay scannable.
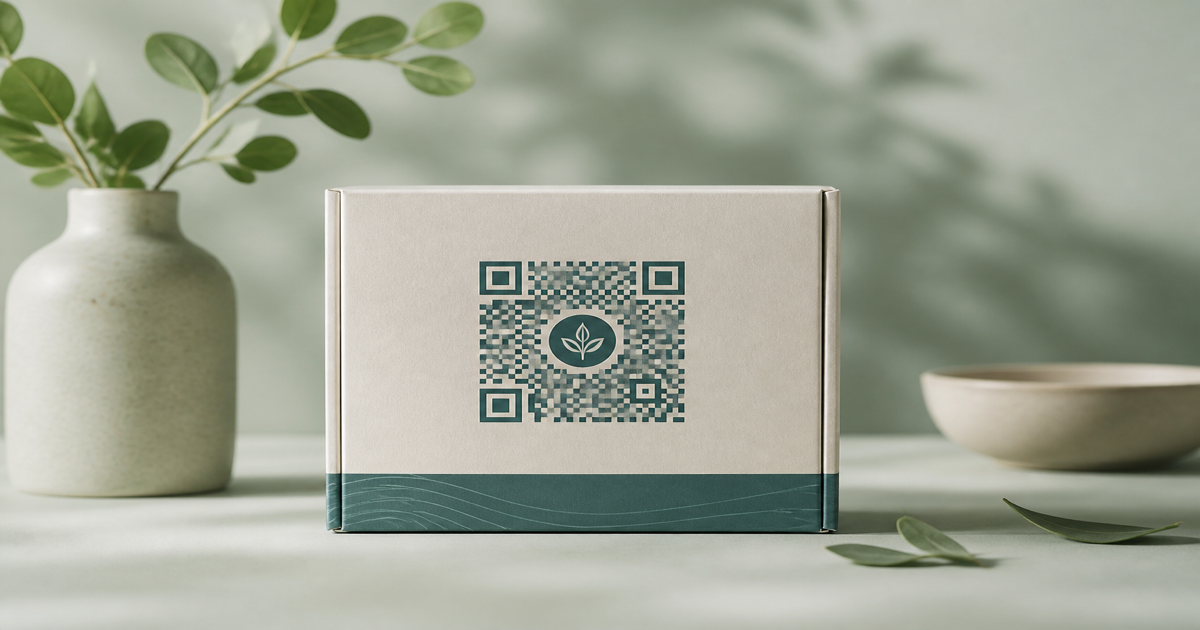
A center logo makes a QR code instantly recognizable as yours, but it replaces data modules that scanners need to reconstruct the payload. Done well, a logo sits in the middle while finder patterns and timing tracks stay intact. Generate a test code in the QR code generator, add your mark, and scan with the QR scanner before committing to packaging or signage.
Why it matters
Logos trade capacity for branding — the larger the overlay, the more error correction you need and the bigger the printed code must be. Marketing teams often shrink finders or push logos into quiet zones, which kills scans faster than an oversized center mark. Read error correction levels and colors and contrast before locking artwork.
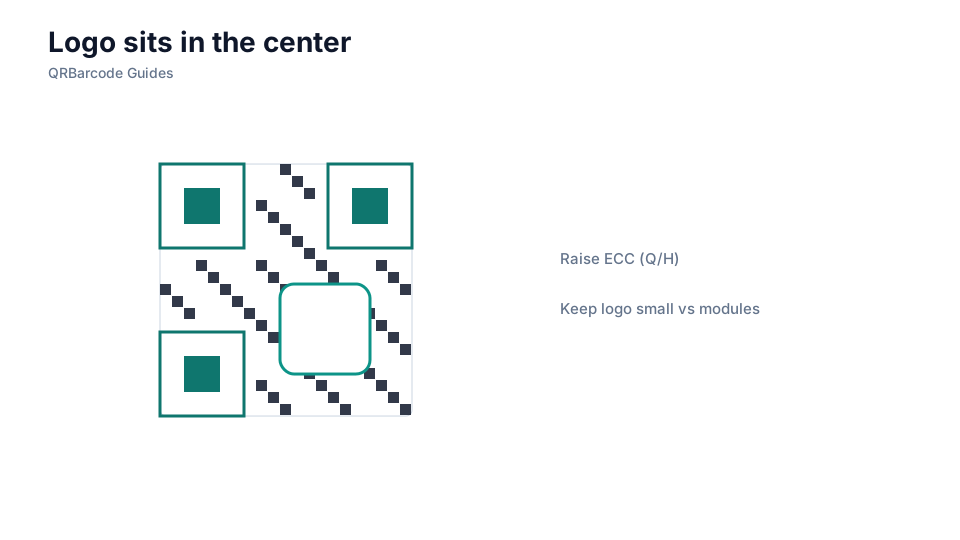
How to apply it
Use the highest practical error correction, keep the logo below roughly 30% of code area, and place it centrally without touching finder squares. Shorten URLs or use redirects so the underlying matrix stays less dense.
- Raise error correction to Q or H when adding a logo, and avoid long payloads that create dense modules.
- Give the logo a solid white pad so it does not blend into dark modules around it.
- Print at a larger physical size than a plain QR would require, then proof on iOS and Android.
Common mistakes
Oversized logos, transparent marks that show modules underneath, and logos placed over finders are the usual failures. Teams also forget to re-test after changing the destination URL, which can increase density and break a layout that once scanned. See QR size guidelines if scans fail only on smaller placements like business cards.
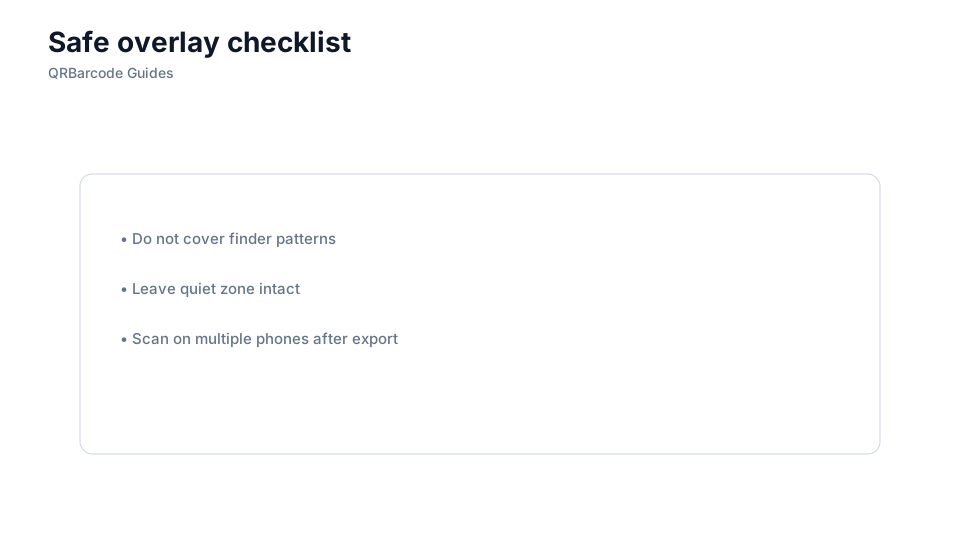
Recommended tools
Build branded codes in the URL QR tool with logo options enabled, export SVG for print vendors, and validate every revision in the QR Code Scan tool.