
How to Scan a Barcode
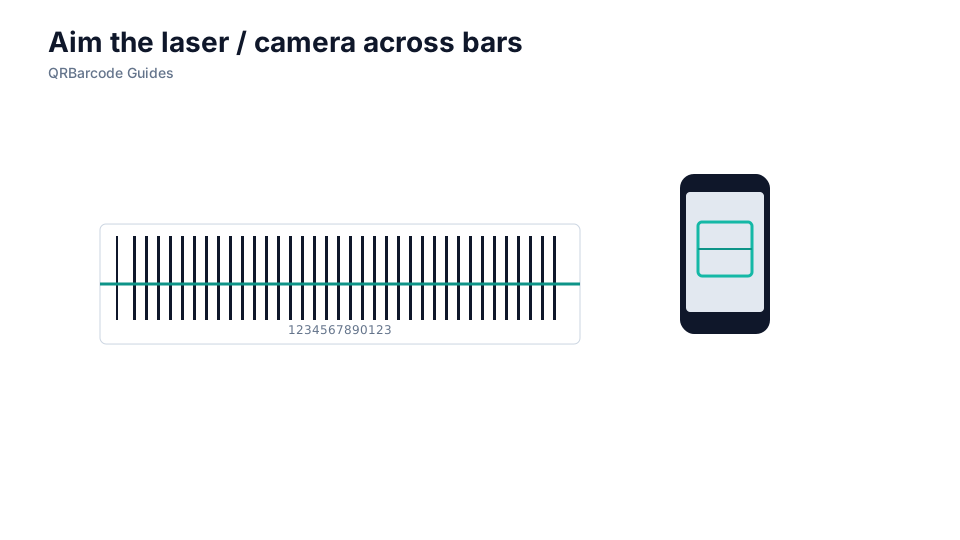
Align the scan line across the full width, or fill a camera viewfinder for 2D codes.

Scanning a barcode well means matching technique to the hardware—laser line guns for 1D stripes, imagers for 2D matrices, and phone cameras for quick checks. Align the scan line across the full width, hold steady at the recommended distance, and avoid glare on laminated labels. Practice with Barcode Scan and labels from the Barcode Generator.
Why it matters
Operators blame “bad barcodes” when angle, distance, or lighting are the real culprits. A worn ribbon print still decodes if the gun crosses every bar perpendicularly; a perfect symbol fails when half the quiet zone is cropped by a shrink-wrap fold. Training and technique recover more throughput than endlessly regenerating artwork.
How to apply it
For 1D retail codes, sweep the laser across the full symbol height without clipping top or bottom bars. For 2D codes, fill the imager window and keep the device steady until the beep. On glossy packs, tilt slightly to dodge hotspot glare. If reads are intermittent, cross-check symbol size in barcode size guidelines and print quality in printing barcodes.
- Clean scanner lenses and phone cameras before blaming the label.
- Increase distance gradually when codes are wide (Code 128 with long IDs).
- On curved bottles, rotate the product so the beam crosses bars at the least curved meridian.
- Log decode failures with photos—patterns reveal glare, truncation, or smudge issues quickly.
Common mistakes
Waving the gun too fast or too far away drops scan rate on long Code 128 labels. Shooting laser lines parallel to bars—instead of crossing them—also fails consistently. For phone-based checks, digital zoom blurs modules; move closer instead.
Recommended tools
Test any label in Barcode Scan, regenerate problem symbols in the Barcode Generator, and review 1D vs 2D barcodes if your hardware mismatch persists.